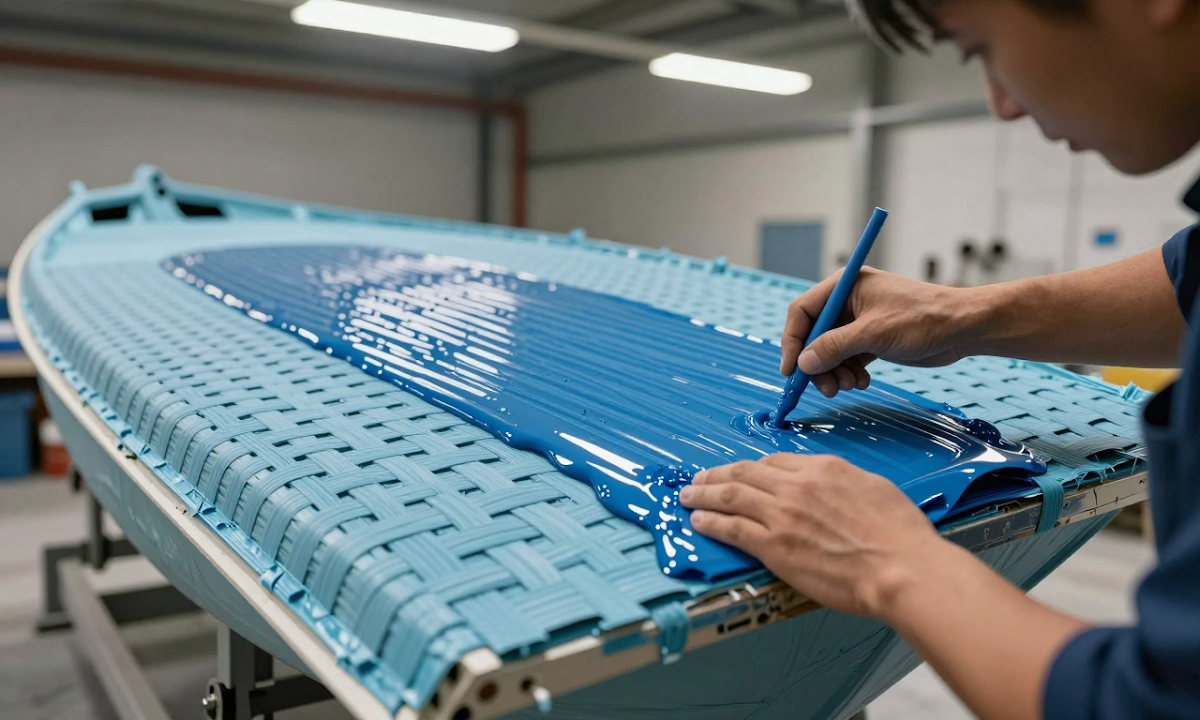
Mastering how to scale boat plans is essential for any builder who wants to transition from a conceptual sketch to a tangible vessel on the water. Many enthusiasts start with a small-scale model or a miniature prototype, only to realize that simply making the lines longer does not always preserve the perfect proportions of the original design.
This guide explores the practical mechanics of scaling boat dimensions while maintaining structural integrity. You will learn how to adjust geometry for larger hulls, manage workspace requirements, and accurately calculate boat cost as the size increases.
Whether you are working with fiberglass boat materials or timber, understanding these principles ensures that your final build retains its character. We will walk through a step-by-step workflow to help you transform a small design into a full-sized masterpiece without losing the details that make it unique.
In this article:
- Understanding the geometry of scaling boat plans
- Calculating material costs for larger hulls
- Workspace requirements for full sized boats
- Common scaling mistakes in boat design
- Step by step workflow for scaling plans
- Frequently Asked Questions
- Final Thoughts
Understanding the geometry of scaling boat plans
When you transition from a small model to a full-sized vessel, it is vital to understand that scaling is not a simple 1:1 transformation of every measurement. While linear dimensions like length and beam increase at a steady rate, other properties such as surface area and volume grow exponentially. Understanding this geometric relationship ensures that your final hull maintains its intended proportions.
Linear vs. Surface Area Growth
If you double the length of a boat, the surface area does not simply double; it increases by the square of the scale factor. For example, doubling the linear dimensions of a small hull results in four times the surface area. This is why a larger boat requires significantly more fiberglass boat materials or planking than a simple doubling of its length might suggest.
The Square-Cube Law in Boat Design
Scaling also affects how the boat handles water and carries weight. Because surface area grows by the square, while volume (and thus weight) grows by the cube, a larger boat becomes heavier much faster than it gets longer. Designers must account for this to ensure that a large hull does not become too heavy or bulky compared to its smaller counterpart.
Maintaining Proportions
To keep your scale boat plans accurate, you must apply the scale factor consistently across all dimensions. Every curve, from the entry of the bow to the flare of the stern, should be multiplied by the same constant. If one part of the hull scales differently than another, the boat may lose its signature silhouette or aesthetic balance.
Practical Scaling Tips
- Use a consistent scale factor - Ensure every linear measurement is multiplied by the same number to maintain symmetry.
- Verify surface area - Calculate the total skin area to estimate how much material you will need for the hull sides and bottom.
- Check volume ratios - Use volume calculations to predict how much buoyancy and storage space the larger vessel will provide.
Calculating material costs for larger hulls
When moving from a small prototype to a full-sized hull, material costs often increase exponentially rather than linearly. Because surface area expands as dimensions grow, you must account for how much fiberglass and resin are required to cover every square inch of the larger surface.
Estimating fiberglass layers
To estimate the amount of fabric needed, calculate the total surface area of the hull in square feet. Once you have this number, multiply it by the number of layers required for your desired strength. A standard cruising hull usually requires between 2 and 4 layers of fiberglass depending on the intended use.
Calculating resin volume
Resin consumption is tied directly to the surface area and the thickness of the laminate. For a precise estimate, multiply the total surface area by the desired thickness of the final hull in inches, then convert that into cubic feet. This helps ensure you have enough liquid material to saturate every fiber without running short during the lamination process.
Accounting for waste and overlap
When working with scale boat plans, it is practical to add a buffer of 10% to 15% to your final totals. This extra margin covers overlaps where fabric pieces join together and sections that may need trimming or slight adjustments during the construction phase.
Factors affecting total cost
- Fiber type - different weaves like plain, twill, or biaxial affect how much material is used to cover a specific area.
- Hull complexity - deeper curves and sharper angles require more overlapping fabric than flat surfaces.
- Weight considerations - heavier hulls may require thicker fiberglass layers, increasing the total volume of resin needed for a solid finish.
Workspace requirements for full sized boats
When transitioning from a small model to a full-sized vessel, the physical footprint of your workspace becomes a primary consideration. You must account for more than just the length of the hull; you need enough room to move around the boat and access every surface during the construction process.
Physical footprint and clearance
A common mistake is choosing a space that fits the boat perfectly but leaves no room for the builder. For a full-sized project, aim for at least three feet of clearance on all sides of the hull to allow for walking and reaching into tight corners.
If you are working in a cramped garage, consider the width of your primary tools and workbenches. A large table for assembly or a dedicated area for sanding can quickly eat up the floor space needed for the boat itself.
Maneuverability during construction
The ability to rotate and move the hull is essential for consistent results. If your workspace allows you to spin the boat 90 degrees, you can easily reach the underside of the keel or the outermost edges of the bow without overextending.
For very large hulls, consider whether you have enough room to maneuver the structure as it grows. A narrow space might make it difficult to transition from the initial frame assembly to the final planking or fiberglass layup.
Storage and material staging
Scaling boat plans requires a dedicated area for raw materials before they are integrated into the build. You need sufficient floor space to lay out long planks, organize plywood sheets, or stack fiberglass boat materials without creating clutter.
Organized storage ensures that your primary workspace remains clear of debris. Having a designated spot for "work in progress" components prevents you from having to shuffle pieces constantly as you build outward from the center.
Common scaling mistakes in boat design
When transitioning from a miniature model to a full-sized vessel, many designers assume that every dimension can be multiplied by the same factor. However, simply doubling the length of a boat does not automatically double its volume or surface area, which can lead to unexpected results in the final hull.
Proportional thickness issues
A common error is maintaining a constant thickness throughout the entire structure. For example, if you scale up a small model and keep the hull planks at the same width as the original, the larger boat may appear too thin or flimsy for its size.
To ensure structural integrity, you must adjust the thickness of the wood or fiberglass relative to the overall length. A longer boat requires deeper ribs and thicker stringers to support the increased surface area and handle the forces of the water.
Weight distribution errors
Scaling often shifts the center of gravity in ways that are not immediately obvious. On a small scale, a heavy engine might feel balanced because the hull is compact, but on a full-sized boat, that same weight may need to be redistributed to prevent the bow from dipping too low.
Designers must account for how weight accumulates as dimensions increase. A larger surface area distributes weight more broadly, meaning you must balance the heavy components—like seats, fuel tanks, and motors—to maintain a stable trim across the entire waterline.
Loss of detail in scale boat plans
When viewing scale boat plans, it is easy to lose track of minor details that become significant at a larger size. A small curve that looks smooth on a model might become a sharp angle when expanded, requiring extra smoothing during the construction phase.
It is also vital to remember that functional components do not always scale linearly. While the hull grows proportionally, items like the rudder size or the width of the keel may need slight adjustments based on the desired handling characteristics rather than pure mathematics.
Step by step workflow for scaling plans
Transitioning from a small skiff to a full-sized cruiser requires a systematic approach to ensure proportions remain intact. By following a logical workflow, you can maintain the integrity of the original design while expanding the overall dimensions.
Determine your target scale factor
Identify the specific multiplier you want to use for the enlargement. For instance, doubling the length does not just double the surface area; it affects the volume and weight significantly.
Decide whether you are aiming for a linear increase in size or if you need to adjust specific proportions, such as widening the beam while keeping the length constant.
Apply dimensions to the hull
Start by applying your chosen multiplier to the primary measurements of the boat. Begin with the overall length, then move to the beam and the depth at the waterline.
Use these new base numbers to recalculate the curve radii and the taper of the bow and stern. Ensure that the transition from the sides to the bottom remains smooth as the hull grows larger.
Adjust interior features
Once the outer shell is established, scale the internal components like seating, storage lockers, and cabin space. These elements must grow proportionally so they do not appear too small or cramped in a larger vessel.
Check that the placement of these features remains functional; for example, ensure that the center of gravity stays balanced as you move from a small plan to a full-sized one.
Verify with a prototype
Create a rough "mock-up" or a 1:10 scale model before committing to the final build. This helps you visualize how the enlarged boat will behave in the water and identify any areas where the proportions might feel slightly off.
Review your final measurements against the original design to confirm that the character of the boat remains recognizable despite its increased size.
Frequently Asked Questions
How does surface area affect fiberglass material cost when scaling?
When scaling boat plans, the surface area of the hull increases significantly as dimensions grow. Because fiberglass materials are applied over this surface, a larger boat requires more gelcoat and fiber layers to maintain thickness. Understanding this relationship is essential for calculating boat cost accurately, as doubling the length often results in more than double the required material.
Final Thoughts
Scaling boat plans effectively requires a balance between geometric accuracy and practical logistics. By understanding how dimensions change proportionally, you can ensure that a small model maintains the same sleek lines as its full-sized counterpart.
Key takeaways for scaling
- Proportional Growth - Maintaining correct ratios ensures that hull shapes remain consistent across different sizes.
- Resource Planning - Calculating boat cost and material needs early helps prevent surprises during the construction phase.
- Space Management - Evaluating your boat construction space is essential before committing to a larger, full-sized hull.
Mastering these elements allows for a smooth transition from a small prototype to a functional vessel. These principles provide a reliable foundation for any builder using scale boat plans.